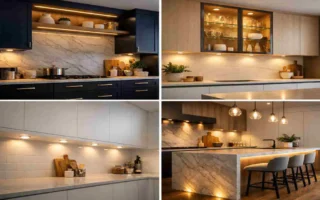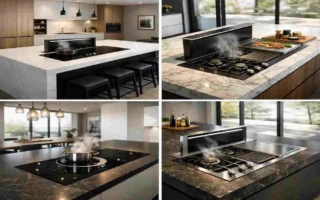
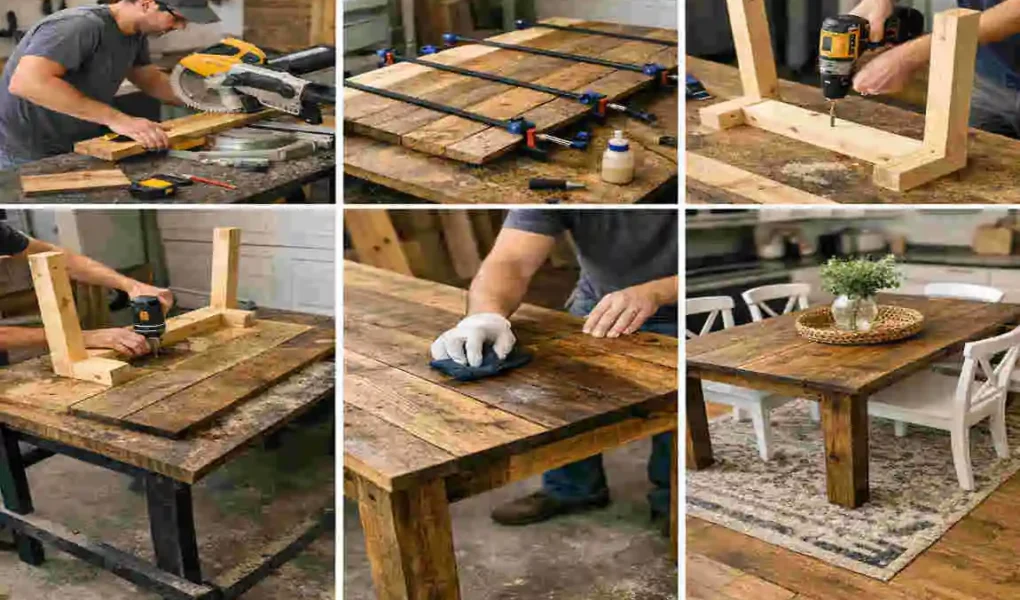
Building your own table is a practical and satisfying project. If you are learning how to make a kitchen dining table, this guide will walk you through the process step by step.
A homemade dining table can save money, fit your space better, and match your style more closely than many store-bought options. It also gives you the chance to choose the size, shape, and finish you really want. If you enjoy hands-on work, this project feels rewarding from start to finish.
Why Build Your Own Kitchen Dining Table?
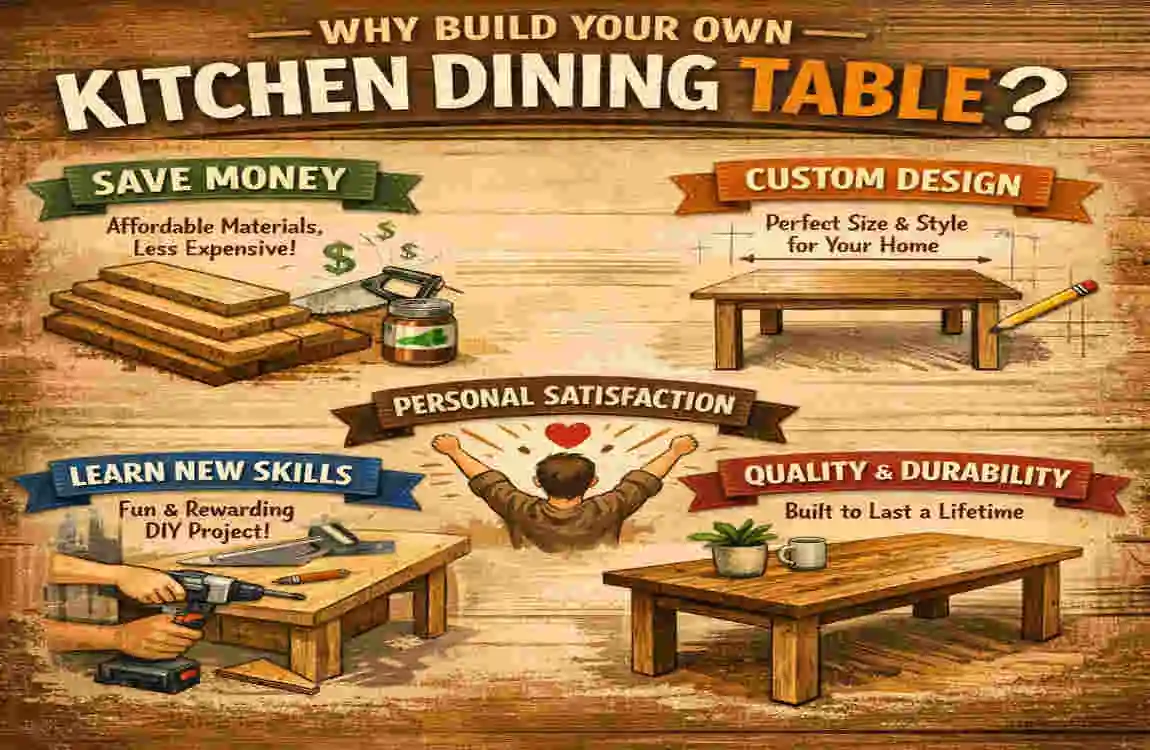
Save money
Buying a ready-made dining table can be expensive, especially if you want solid wood or a custom size. When you build your own, you can control the budget by choosing materials that fit your needs.
You can also reuse wood or buy supplies more sustainably. That often makes a DIY table much more affordable.
Fit your space and style.
Every kitchen is different. Some need a small square table, while others need a long rectangular one. When you build it yourself, you can make the table the exact size your room needs.
You also get full control over the design. You can keep it simple, rustic, modern, or classic.
Use better materials
Many factory-made tables use cheaper materials to keep prices low. With a DIY project, you can choose strong wood and good hardware.
That means your table can last longer and feel more solid in everyday use.
Enjoy the project
There is something special about using furniture you made with your own hands. It gives your home a personal touch and makes the result feel more meaningful.
Tools and Materials You Will Need
Before you start, gather everything in one place. That will save time and help the project go smoothly.
Essential tools
- Measuring tape
- Saw
- Drill
- Screwdriver
- Sander
- Clamps
Recommended materials
- Wood or plywood
- Table legs or lumber
- Wood screws
- Wood glue
- Sandpaper
- Wood stain or paint
- Protective finish
If you already own some of these tools, your cost will be lower. If not, you may be able to borrow or rent them.
Plan the Size and Design of Your Kitchen Dining Table
Good planning is one of the most important parts of learning how to make a kitchen dining table the right way.
Measure your kitchen or dining area.
Start by measuring the space where the table will sit. Do not forget to leave enough room for chairs and movement around the table.
A table that is too large can make the room feel crowded. A table that is too small may look awkward or feel uncomfortable to use.
A simple rule is to allow enough space so people can sit and stand without bumping into walls or cabinets.
Choose the right table shape.
The shape of the table affects both style and comfort.
- Rectangular table: Best for longer spaces and larger families
- Round table: Great for small rooms and easier conversation
- Square table: Good for compact spaces or equal seating
If you are a beginner, a rectangular table is often the easiest to build.
Select a suitable wood type.
Different woods have different strengths and looks.
- Pine is affordable and easy to work with
- Oak is strong and durable
- Maple has a smooth, clean look
- Walnut looks rich and elegant
Think about durability, appearance, budget, and maintenance before choosing. If this is your first project, pine can be a smart starting point.
How to Make a Kitchen Dining Table Step by Step
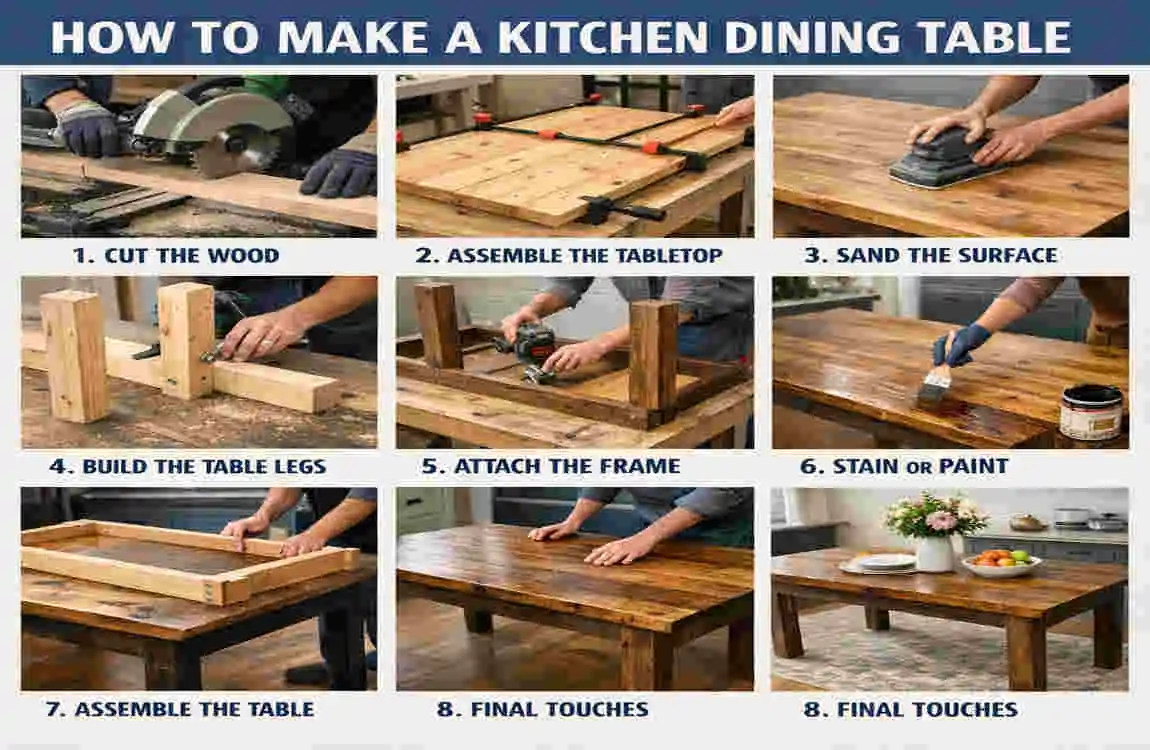
Now let’s get into the building process. Take your time with each step. Careful work leads to a stronger and better-looking table.
Cut the wood
Measure the tabletop and support pieces carefully before making any cuts. This is where accuracy matters most.
If possible, mark each piece clearly before cutting. Double-check every measurement so you do not waste material.
A steady hand and patience will help you avoid mistakes.
Build the tabletop
Once the wood is cut, join the boards together to form the tabletop. Use wood glue and clamps to hold the pieces tightly while they dry.
Make sure the surface is level and even. If the boards do not line up well, the tabletop may feel rough or uneven.
Let the glue dry fully before moving to the next step.
Make the table frame.
The frame gives the table strength. It supports the top and helps keep the table stable.
Cut and attach the side pieces carefully. Use strong joints and quality screws so the frame can handle daily use.
This part may not be visible once the table is finished, but it is one of the most important parts of the build.
Attach the table legs.
Now secure the legs to the frame or directly to the tabletop, depending on your design.
Make sure each leg is even. If one leg is shorter than the others, the table may wobble.
Take a moment to test the table on a flat surface. This simple check can save you trouble later.
Sand and smooth the surface.
Sanding helps remove rough edges, splinters, and small imperfections. It also prepares the wood for paint, stain, or finish.
Start with a coarser sandpaper if needed, then move to a finer one for a smoother touch.
This step is important because it improves both the look and feel of the table. It also makes the table safer for everyday use.
Apply stain, paint, or protective finish.
Choose a finish that matches your kitchen style. Some people prefer natural wood stain, while others like painted surfaces.
A protective finish helps guard the wood against spills, scratches, and regular wear. Apply it evenly and let it dry fully before using the table.
A good finish does not just improve appearance. It also helps your table last longer.
Important Tips for Building a Strong and Safe Dining Table
A table should not only look good. It should also be safe and sturdy.
Here are a few tips to keep in mind:
- Double-check all measurements before cutting
- Use strong joints and quality screws
- Make sure the legs are level
- Avoid sharp edges
- Allow the protective finish to dry completely
- Test the table’s stability before regular use
These small steps can make a big difference in the final result.
Common Mistakes to Avoid When Making a DIY Table
Even a simple project can run into problems if you rush. Knowing the common mistakes can help you avoid them.
Choosing the wrong table size
A table that is too large or too small will never feel right in the room. Always measure the space first.
Using weak or damaged wood
Old or poor-quality wood may crack, bend, or weaken over time. Pick materials that are sound and solid.
Cutting without accurate measurements
One wrong cut can throw off the whole build. Measure twice and cut once.
Forgetting to check for wobbling
A table that rocks or wobbles will be frustrating to use. Test the legs and joints before finishing.
Skipping sanding
If you skip sanding, the table may feel rough and look unfinished. Smooth surfaces always look more polished.
Applying finish unevenly
Too much finish can look heavy, while too little may not protect the wood well. Apply it in thin, even coats.
How Much Does It Cost to Make a Kitchen Dining Table?
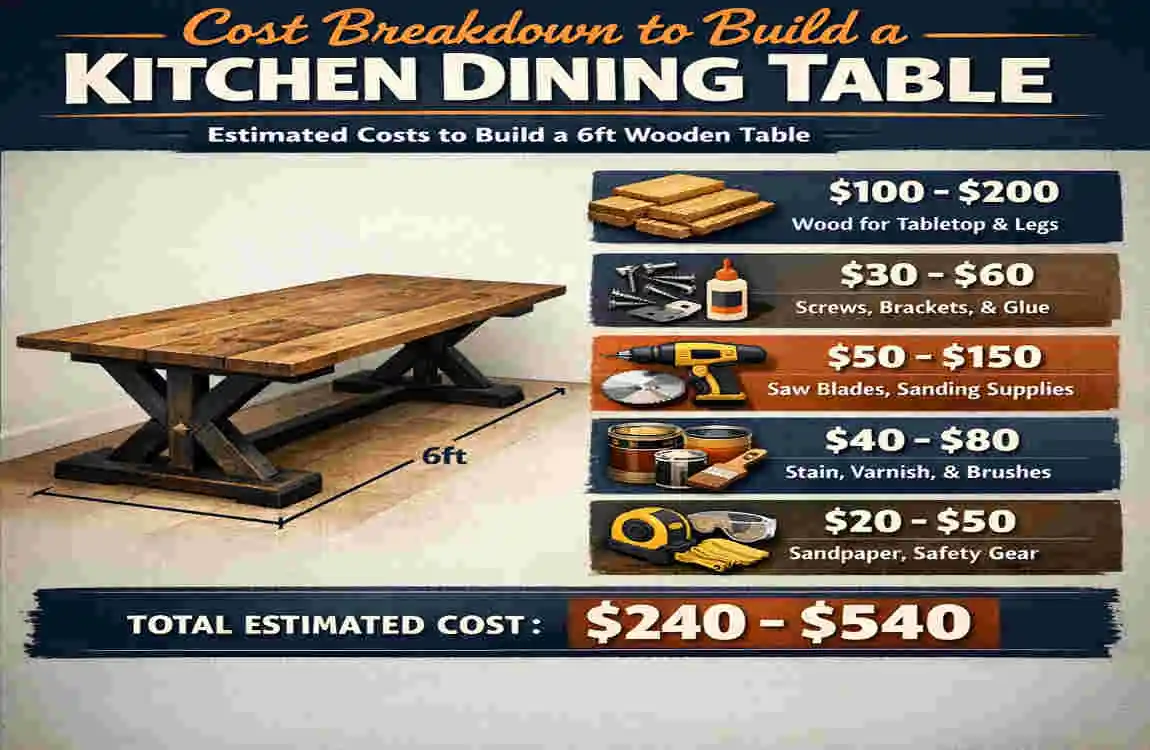
The cost depends on the materials, design, table size, and tools you already own. A simple DIY table can be much cheaper than buying custom furniture.
If you choose premium hardwood table or custom legs, the cost will go up. Still, you can often control the budget better when you build it yourself.
FAQ
How much wood do I need to make a kitchen dining table?
The amount depends on the table size, thickness, and design. Measure your table first, then buy wood based on your plan.
What is the best wood for a DIY dining table?
Oak, maple, pine, and walnut are all popular choices. The best one depends on your budget and style.
Can beginners make a kitchen dining table?
Yes. A simple rectangular table is a good beginner project.
How long does it take to build a dining table?
A simple table may take a weekend. More detailed designs can take longer.
Is it cheaper to make your own dining table?
It can be cheaper, especially if you choose affordable materials and already have some tools.
What is the best height for a kitchen dining table?
A standard dining table is usually 28–30 inches high.
How do I stop my DIY table from wobbling?
Make sure the legs are equal in length, the floor is level, and all joints are tight and secure.
| Step | What to Do | Simple Tip |
|---|---|---|
| Plan the Size | Measure your kitchen and choose table dimensions | Leave enough space for chairs |
| Choose Materials | Select wood, plywood, or reclaimed wood | Solid wood offers better durability |
| Cut the Wood | Cut the tabletop, legs, and supports | Measure twice before cutting |
| Build the Frame | Assemble the table base and support structure | Use strong screws and wood glue |
| Attach the Top | Secure the tabletop to the frame | Keep the surface level |
| Sand the Surface | Remove rough edges and splinters | Use fine-grit sandpaper for a smooth finish |
| Paint or Stain | Apply your preferred finish | Add a protective seal for durability |