If you want a simple way to add storage and style to your kitchen, learning how to make kitchen shelves at home is a great place to start. DIY shelves can save money, fit your space better, and give your kitchen a more personal look.
Why Make Kitchen Shelves at Home?
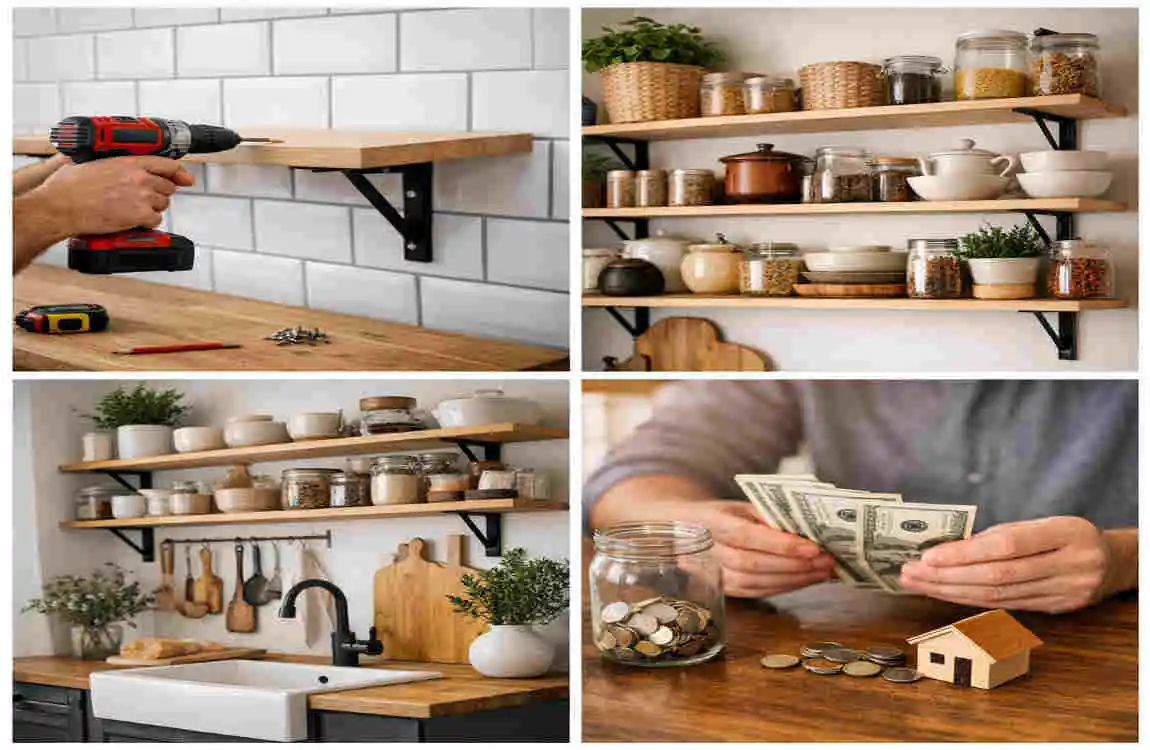
Save money and stay flexible.
One of the biggest reasons people build their own shelves is cost. Ready-made shelves can be expensive, especially if you want good wood or a custom size.
When you make them yourself, you can control the budget. You also get more freedom to choose the look, size, and finish you want.
Fit your kitchen exactly.
Every kitchen is different. Some have small walls, awkward corners, or tight spaces above counters.
DIY shelves let you build to the exact size you need. That means less wasted space and a cleaner fit.
Open shelves vs. closed storage
Open shelves make a kitchen feel lighter and easier to reach. They are great for dishes, mugs, jars, and decor.
Closed storage hides clutter better. But if you want easy access and a more open look, shelves are often the better choice.
Best places to install kitchen shelves
Kitchen shelves work well:
- Above countertops
- In corners
- Near the stove for spices
- Over the sink area
- In small empty wall spaces
Materials and Tools You Need
Before you begin, gather everything first. That will save time and reduce mistakes.
Basic supplies
ItemPurpose
Wooden boards or plywood Main shelf surface
Measuring tape and pencil Marking and planning
Level Keeping shelves straight
Screws and wall anchors Secure mounting
Drill and screwdriver Installing hardware
Sandpaper Smoothing edges
Wood glue Extra support
Paint, stain, or finish Final look and protection
Shelf brackets Supporting the shelf
Choosing the right material
For kitchen shelves, you want something that can handle weight, moisture, and daily use. Solid wood is strong and looks warm. Plywood is more affordable and still works well if it is good quality.
If your kitchen gets humid, choose a finish that helps protect the wood. That will help the shelves last longer.
How to Measure and Plan Your Kitchen Shelves
Good planning is the key to success. If you measure carefully, the rest of the project becomes much easier.
Measure the wall space.
Start by measuring the width of the wall where the shelf will go. Also, check the height to see how much room you really have.
Do not forget nearby items like cabinets, windows, outlets, and light switches.
Decide shelf length and depth.
Shelf length depends on your wall space. Shelf depth depends on what you plan to store.
For kitchen use, shallow shelves are often enough for jars, cups, and plates. Deeper shelves can hold larger items, but they may look bulky in small spaces.
Think about weight
A shelf for a few spice jars is very different from a shelf for dishes or small appliances. Heavier items need stronger boards and better wall support.
If you plan to store cookware, build with strength in mind from the start.
Choose the right shelf height.
The height should make the shelves easy to use without crowding the room. Keep enough room above counters and below cabinets.
If you install shelves too high, they become hard to reach. Too low, and they may interfere with daily tasks.
Mark the wall before drilling.
Once you know the size, mark the shelf position on the wall with a pencil. Use a level so your marks stay straight.
This small step helps you avoid crooked shelves later.
How to Make Kitchen Shelves at Home: Step-by-Step
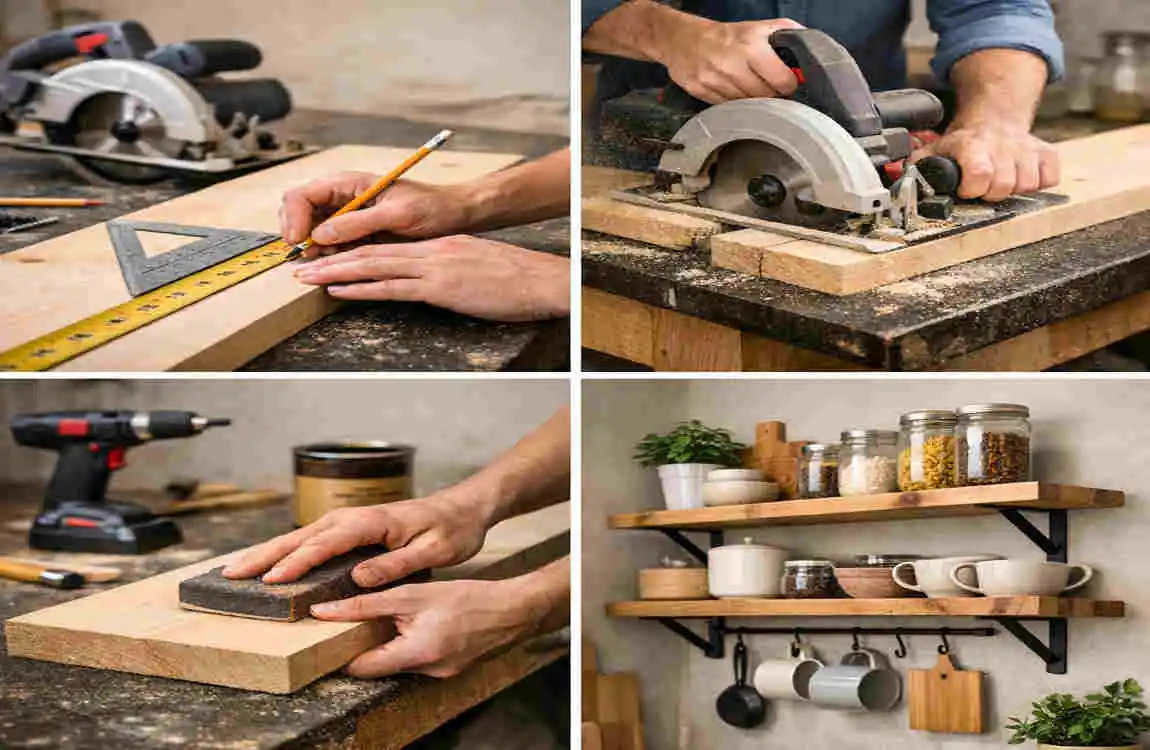
Now let’s get into the actual build.
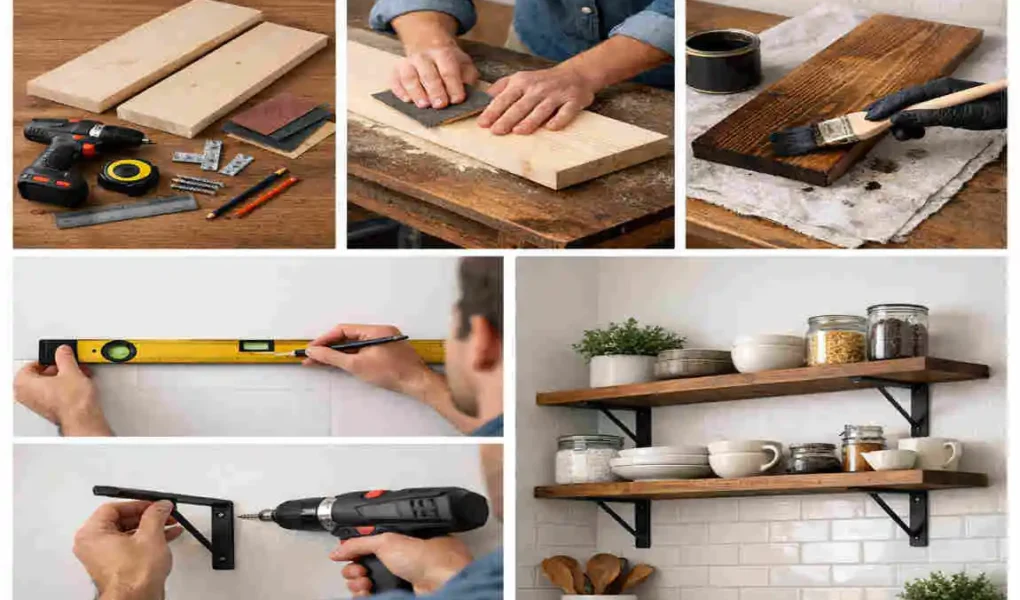
Cut the boards
Cut your boards to the right length and depth. Measure twice before cutting so you do not waste material.
If you do not have a saw, many hardware stores can cut boards to size for you.
Sand the edges
After cutting, sand the edges so they feel smooth. This makes the shelves safer and gives them a cleaner finish.
Take extra care with corners, since sharp edges can snag clothing or scratch hands.
Paint, stain, or finish the wood
Now is the time to choose the look you want. Paint gives a clean, modern feel. Stain shows off the natural wood grain. A clear finish helps protect the surface.
Let each coat dry fully before moving on.
Mark bracket positions
Place the brackets where the shelf will sit and mark the screw holes. Use a level again so everything lines up.
If the shelf is long, you may need several brackets for better support.
Attach the brackets securely.
Use screws and wall anchors that match your wall type. If possible, attach into studs for stronger support.
Do not rush this part. Strong mounting is what keeps the shelf safe.
Best Kitchen Shelf Ideas for Different Needs
Floating shelves for a modern look
Floating shelves are clean and simple. They work well in modern kitchens and make the room feel less crowded.
They are best for lighter items unless built with strong hidden support.
Rustic wooden shelves
Rustic shelves add warmth and character. They look great in farmhouse or cozy kitchen styles.
Natural wood tones can make the space feel more welcoming.
Corner shelves
Corners often go unused. A corner shelf can turn dead space into useful storage.
This is a smart option for small kitchens.
Small shelves for spices and jars
Short shelves work well above counters for spices, teas, or cooking oils. They keep everyday items close at hand.
Heavy-duty shelves for cookware
If you need to store pots, pans, or bowls, use thicker wood and stronger brackets. Weight support matters here.
Budget-friendly ideas
If you want to save money, use basic plywood, simple brackets, and a painted finish. You can still get a neat, useful result without a high cost.
Common DIY Mistakes and Kitchen Shelf Safety Tips
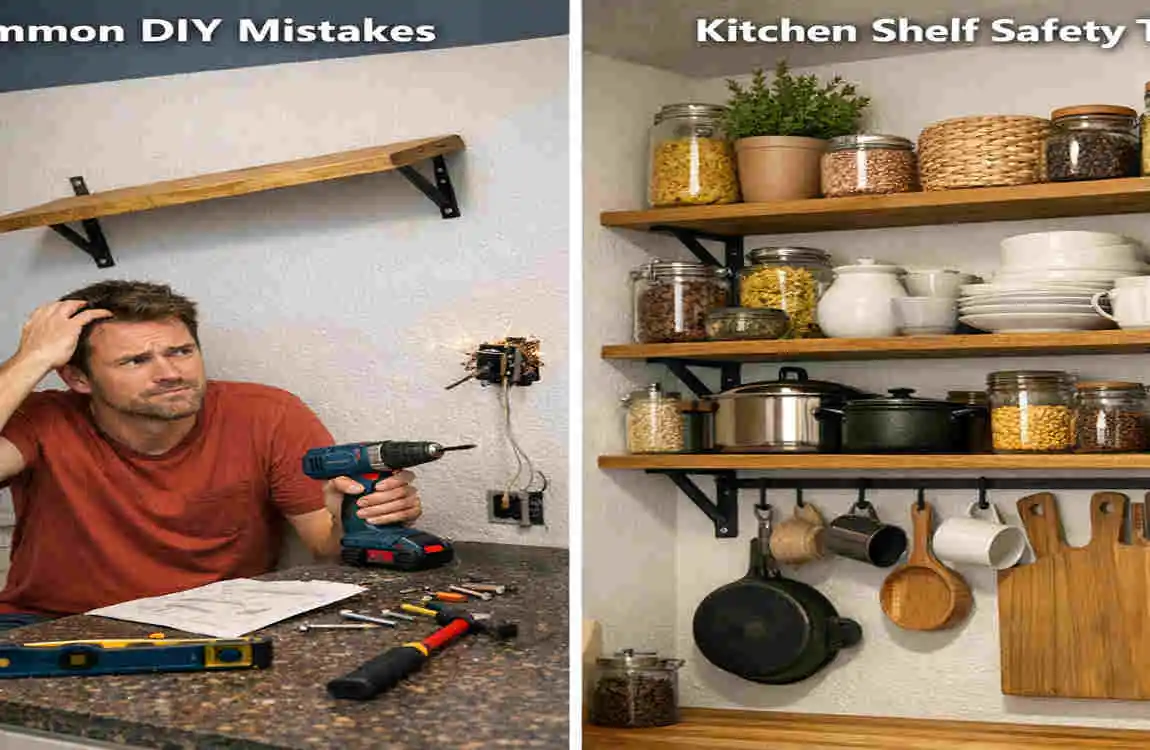
Mistakes to avoid
Here are some common problems to watch for:
- Using weak wall anchors
- Installing shelves without checking studs
- Choosing wood that is too soft or thin
- Overloading the shelf
- Ignoring moisture and heat
- Forgetting to level the shelf
Safety tips
Keep heavier items lower and lighter items higher. That reduces stress on the shelf and makes the kitchen safer.
Also remember that kitchens can be warm and humid. Choose finishes and materials that can handle that environment.
If you are unsure about wall structure or load support, ask a professional for help.
FAQ: How to Make Kitchen Shelves at Home
What is the easiest way to make kitchen shelves at home?
The easiest way is to use pre-cut wood, simple brackets, and a basic painted finish.
What type of wood is best for DIY kitchen shelves?
Plywood and solid wood are both common. Solid wood is stronger, while plywood is often more budget-friendly.
How deep should kitchen shelves be?
That depends on what you want to store. Shallow shelves work well for jars and dishes, while deeper shelves suit larger items.
How much weight can a kitchen shelf hold?
It depends on the wood, brackets, wall anchors, and how the shelf is mounted. Strong wall support matters most.
Can I make kitchen shelves without brackets?
Yes, but only if you use a floating shelf system or hidden support designed for that purpose.
How high should kitchen shelves be installed?
Install them high enough to stay useful without blocking counters, cabinets, or movement in the kitchen.
Are floating shelves good for kitchens?
Yes. They look great and work well, especially for lighter items and modern kitchen styles.
| Step | What to Do | Helpful Tip |
|---|---|---|
| Choose Materials | Select wood, plywood, or MDF | Pick moisture-resistant material for kitchens |
| Measure the Wall | Measure the available width and depth | Double-check measurements before cutting |
| Cut the Shelves | Cut the boards to your desired size | Sand the edges for a smooth finish |
| Paint or Stain | Apply paint, stain, or protective coating | Choose a finish that is easy to clean |
| Install Brackets | Mark and attach sturdy wall brackets | Use wall anchors or studs for better support |
| Place the Shelves | Position the boards on the brackets | Check that each shelf is level |
| Organize Items | Add dishes, jars, spices, or decor | Avoid overcrowding and distribute weight evenly |