If you are learning how to assemble IKEA kitchen cabinets, the first thing to know is that the system is built for DIY use. That is one of the biggest reasons people choose IKEA cabinets in the first place. The parts are modular, the instructions are visual, and the design makes it easier to build a full kitchen step by step.
Still, the process works best when you stay organised. Cabinet assembly isn’t hard, but it rewards patience. You will move faster and make fewer mistakes if you open every box, check the parts, and read the instructions before you start.
Prepare Your Tools, Workspace, and Cabinet Parts
Essential tools
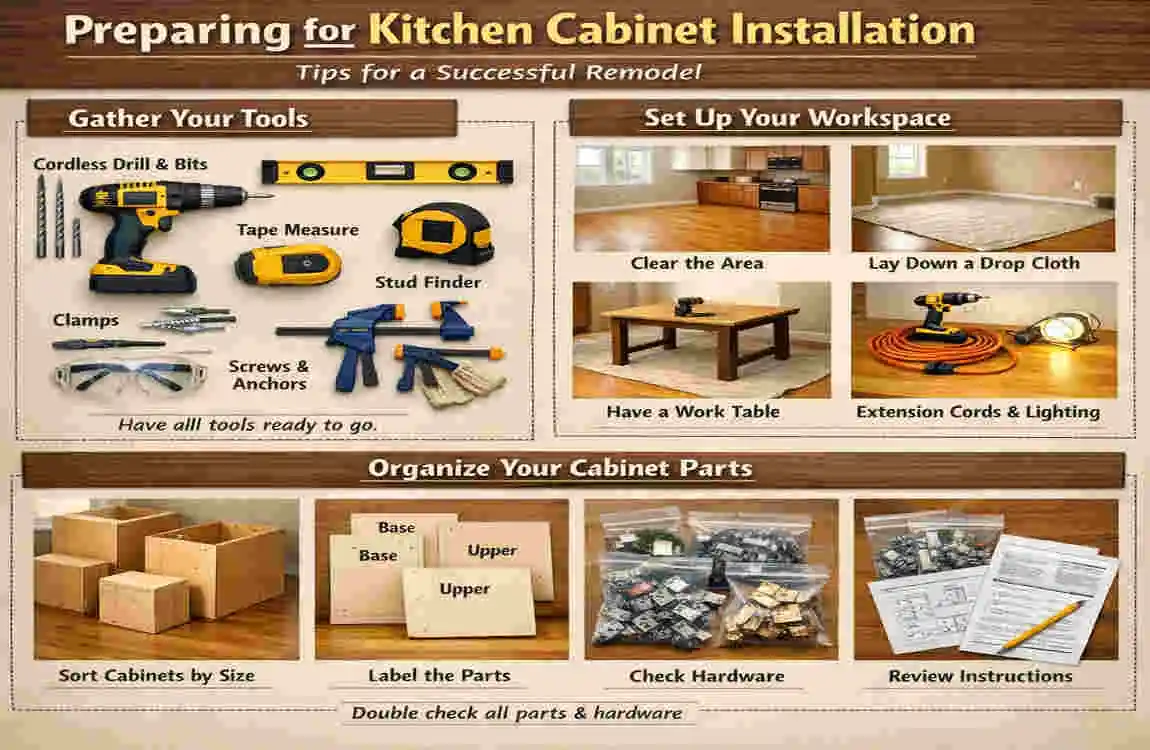
You do not need a full workshop, but a few tools will make the job much easier. For most IKEA cabinet builds, you will want:
- Screwdriver or drill
- Rubber mallet
- Tape measure
- Spirit level
- Pencil
- Clamps
- Utility knife
- Small square
These tools help you keep the build accurate and reduce the chance of damaging the panels.
Create a clean workspace.
A clean, flat space is very important. If the floor is uneven or crowded, it becomes harder to line up the cabinet pieces correctly. Lay down a blanket or cardboard to protect the panels while you work.
Sort the hardware first.
Before you begin, separate the small parts:
- Screws
- Dowels
- Hinges
- Drawer runners
- Rails
- Cover caps
This simple step makes the whole process smoother. You will spend less time hunting for pieces and more time building.
Check every cabinet box.
IKEA packages often include multiple similar-looking panels. Take a moment to identify each one before assembly. That helps avoid mistakes like placing a side panel backward or mixing up a top and bottom piece.
Safety tips
Keep your workspace safe by:
- Wearing gloves if needed
- Lifting panels carefully
- Keeping tools away from children
- Working with a helper for larger pieces
How to Assemble IKEA Kitchen Cabinets Step by Step
Build the Cabinet Frame
Position the panels correctly.
Start with the side panels, bottom panel, top panel, and back support pieces. Lay them out in the order shown in the instructions. This makes the assembly easier to follow.
Use dowels and screws properly.
IKEA cabinets usually rely on dowels, screws, and cam locks. Insert them gently. Do not force the parts. If something does not fit, stop and check the orientation.
Keep the frame square.
A square cabinet frame is important. If the frame is even slightly off, doors and drawers may not line up later. Use a small square or measure diagonally from corner to corner to make sure the cabinet is even.
Install Cabinet Legs and Rails
Attach the legs
Most IKEA base cabinets use adjustable legs. Attach them securely so you can level the cabinet later. These legs help you correct small floor problems.
Understand suspension rails
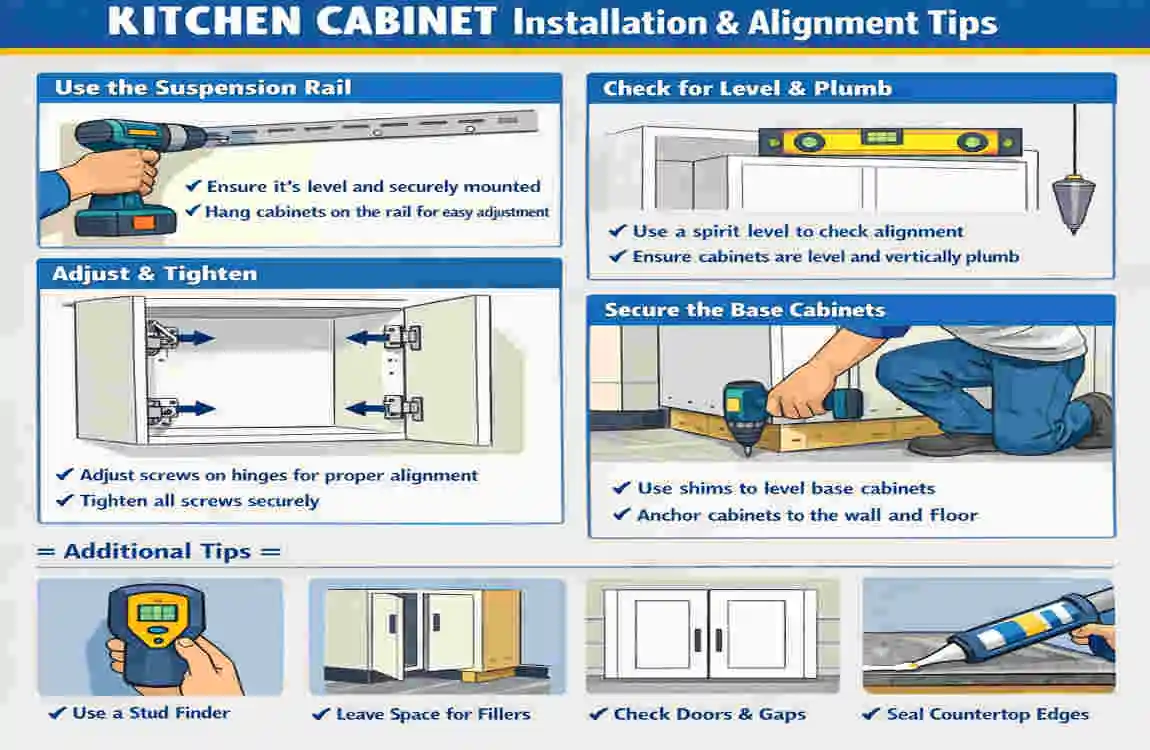
Wall cabinets and some base cabinet setups may use suspension rails. These rails help hold the cabinets in place and make alignment easier. Install them carefully and make sure they are level across the wall.
Set the height and alignment.
Once the legs or rails are on, adjust them slowly. This is one of the most important parts of the process. A small adjustment now can prevent major problems later.
Add Doors, Hinges, and Drawers
Install the hinges
IKEA hinges are adjustable, which helps. Attach them firmly, but do not overtighten. After the doors are on, you can fine-tune the alignment.
Hang the cabinet doors.
Once the hinges are set, attach the doors to the cabinet frame. Check that they open smoothly and do not rub against nearby panels.
Install drawers carefully
Align drawer runners and drawer boxes correctly. If the runners are off, the drawer may stick or tilt. Always test the movement before you fully tighten everything.
Common mistakes to avoid
- Installing hinges backward
- Forgetting to check door swing direction
- Tightening screws too early
- Skipping drawer alignment checks
IKEA Kitchen Cabinet Installation and Alignment Tips
Start with the base cabinets.
Base cabinets create the foundation for the whole kitchen. If these are not level, everything above them becomes harder to install. Take your time here.
Keep everything level
Use a spirit level often. Check from front to back and side to side. Even a slight slope can cause problems with countertops and doors.
Connect neighboring cabinets
Once each cabinet is built, join them before permanently fixing to the wall. This helps create one clean, continuous line.
Secure cabinets to the wall
When the cabinets are positioned correctly, secure them to the wall as instructed. Make sure the wall fixing is strong enough for the cabinet load.
Work around plumbing and electrical points.
Measure carefully around sinks, outlets, pipes, and vents. Leave enough space so the cabinet does not press against anything important.
Corner and awkward spaces
Corner cabinets need extra care. Measure twice, and check the swing of nearby doors. In tight spaces, small mistakes can quickly become visible.
Common IKEA Cabinet Assembly Mistakes to Avoid
Mixing up panels
Many panels look similar. That makes it easy to use the wrong one. Always compare part numbers and instruction diagrams before assembly.
Installing parts backward
This is one of the most common mistakes. If something feels wrong, stop and check. Forcing a part usually causes more trouble.
Over-tightening screws
Too much pressure can strip the screw holes or damage the board. Tighten firmly, but do not crank down too hard.
Skipping measurements
Never assume the wall or floor is perfectly straight. Measure everything carefully before you commit to installation.
Forgetting to test doors and drawers
Before the final tightening, open and close every door and drawer. That helps you catch alignment issues early.
When professional help may be useful
If your kitchen has uneven walls, plumbing changes, or complex corner layouts, a professional installer may save time and reduce errors.
Finishing Your IKEA Kitchen Cabinet Installation
Add handles and knobs.
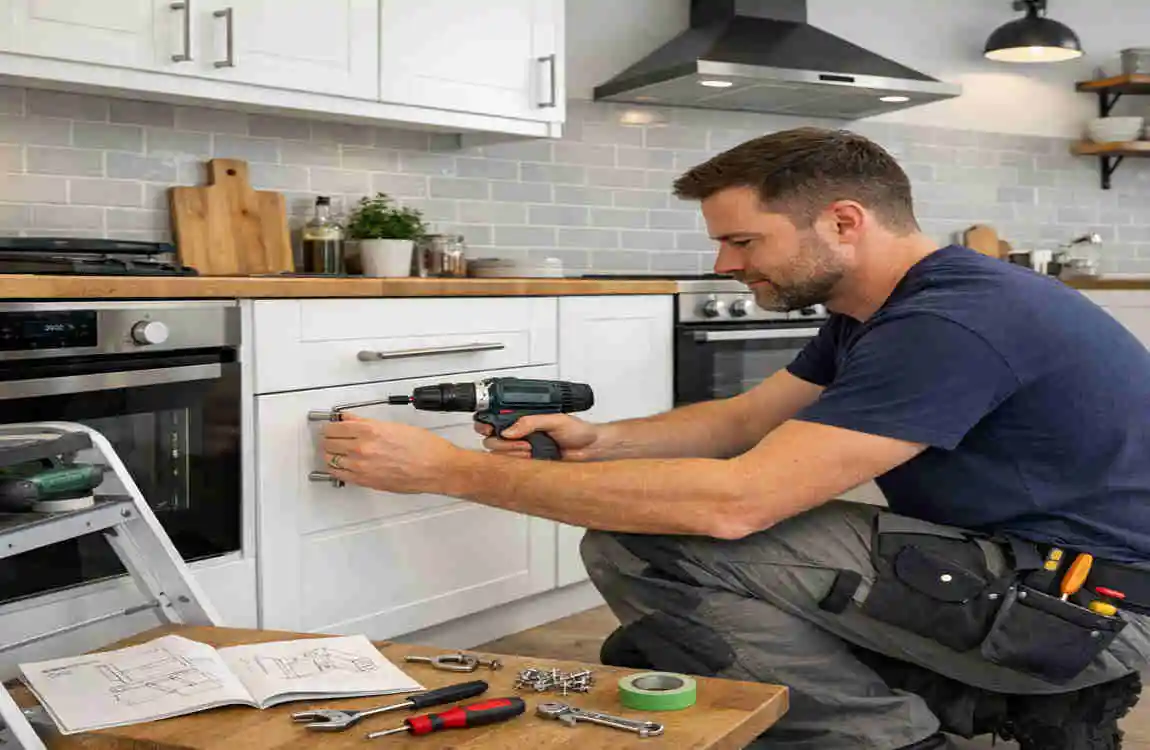
Once the cabinets are aligned, install handles or knobs. This is a small detail, but it changes the final look a lot.
Install cover panels
Cover panels help hide gaps and make the kitchen look more finished. They also create a cleaner custom appearance.
Add countertops after alignment.
Do not rush the countertop step. Make sure the cabinets are level and properly fixed first. A bad cabinet base can affect the entire surface above it.
Cleaning and maintenance
Wipe down the cabinets after assembly to remove dust and fingerprints. Later, keep them clean with a soft cloth and mild cleaner.
Make the kitchen look more customised.
A simple IKEA kitchen can still look high-end. You can improve the look with:
- Matching handles
- Good lighting
- Careful spacing
- Decorative panels
- Clean countertop edges
FAQ About How to Assemble IKEA Kitchen Cabinets
How long does it take to assemble IKEA kitchen cabinets?
It depends on the number of cabinets and your experience. A single cabinet may take a short time, while a full kitchen can take much longer.
What tools do I need to assemble IKEA kitchen cabinets?
Basic tools like a drill, screwdriver, level, tape measure, mallet, and square are usually enough.
Can one person assemble IKEA kitchen cabinets?
Yes, for smaller cabinets. But for larger pieces, a second person helps a lot.
Are IKEA kitchen cabinets difficult to assemble?
They’re usually not difficult, but they do require patience and careful reading of the instructions.
Should IKEA cabinets be assembled before installation?
Yes. In most cases, assemble the cabinet frames first, then install them in the kitchen.
How do you keep IKEA cabinets level?
Use adjustable legs, a level, and careful measurements during installation.
Can IKEA kitchen cabinets be installed without professional help?
Yes, many homeowners do it themselves. But complicated kitchens may benefit from professional support.
What is the most common mistake when assembling IKEA cabinets?
The most common mistake is mixing up parts or installing panels in the wrong direction.
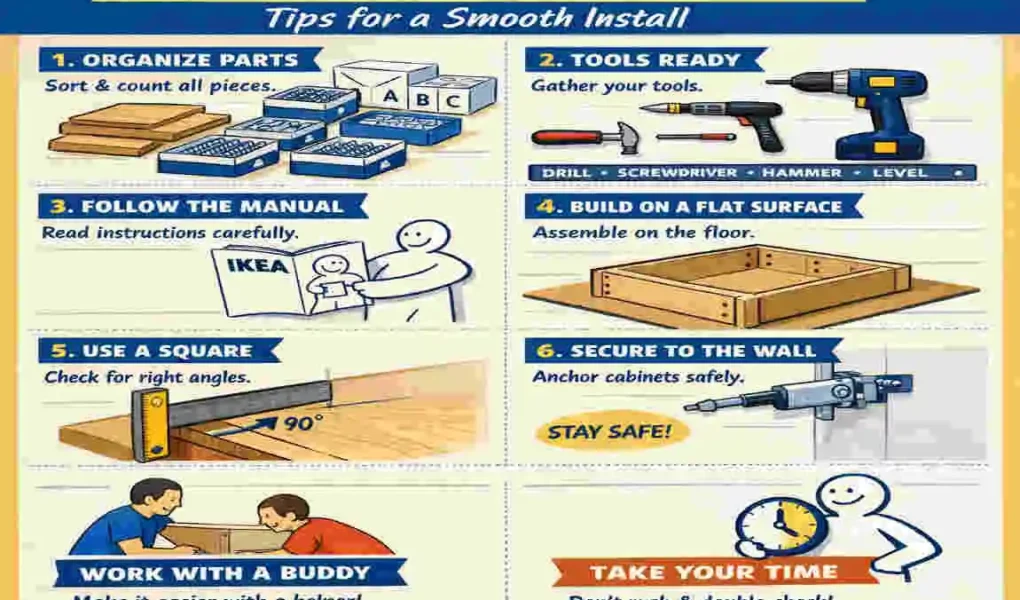
| Tip | What to Do |
|---|---|
| Check All Parts | Match panels, screws, hinges, and hardware with the instructions. |
| Prepare Tools | Keep a drill, screwdriver, level, tape measure, and pencil ready. |
| Read Instructions | Follow the IKEA assembly guide before starting each cabinet. |
| Build on a Flat Surface | Assemble cabinets on a clean, level floor to prevent misalignment. |
| Label Cabinets | Mark each cabinet by location to make installation easier. |
| Tighten Carefully | Secure screws firmly but avoid overtightening and damaging panels. |
| Check for Level | Use a level regularly, especially when installing wall cabinets. |
| Align Doors | Adjust hinges after installation so doors sit evenly. |
| Measure Twice | Confirm wall, cabinet, and appliance measurements before fixing cabinets. |
| Work Safely | Get help when lifting large cabinets and secure wall units properly. |