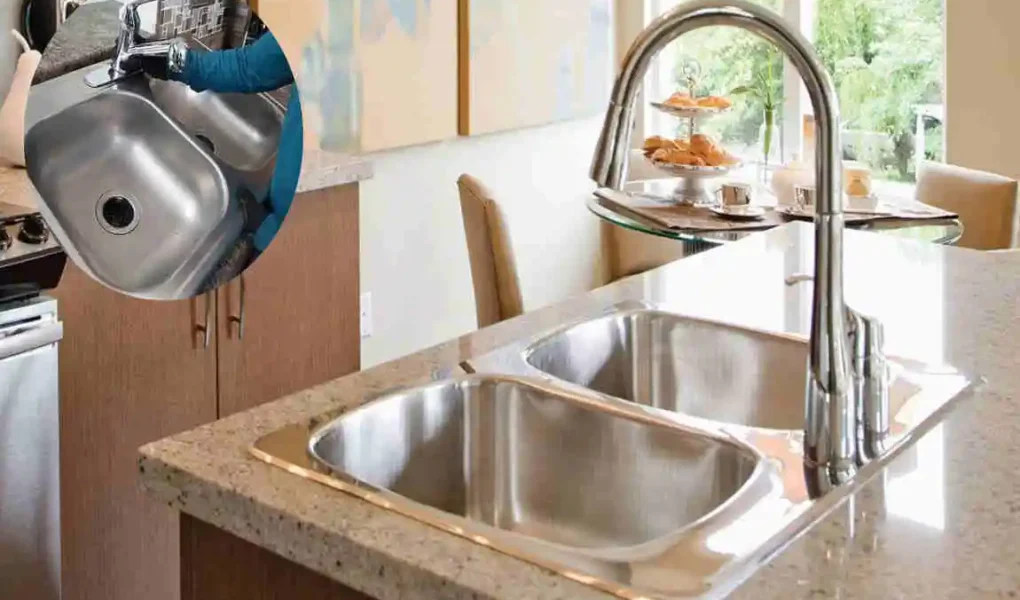
Replacing an old kitchen sink can give your kitchen a cleaner and more modern look. If your existing sink is damaged, stained, outdated, or difficult to maintain, upgrading to a new machine sink can be a practical improvement.
The process may look complicated at first, but with the right tools and preparation, many homeowners can handle basic sink replacement themselves. The key is to remove the old kitchen sink and install a machine sink carefully while protecting the countertop and plumbing.
What Is a Machine Sink?
A machine sink generally refers to a modern manufactured sink designed for efficient kitchen use. Depending on the model, it may be made from stainless steel, composite materials, ceramic, or other durable surfaces.
Modern sinks come in different sizes and installation styles, so check compatibility with your countertop before buying.
Why Replace an Old Kitchen Sink?
An old sink can develop scratches, stains, rust, leaks, or loose fittings. Sometimes the surrounding sealant also cracks, letting water reach the countertop or cabinet.
Replacing the sink can improve both appearance and everyday functionality.
Basic Installation Considerations
Before starting, check:
- Sink dimensions and countertop opening
- Faucet hole position
- Drain location
- Water supply connections
- Mounting system
- Garbage disposal compatibility, if applicable
If the countertop needs major cutting or the plumbing requires significant changes, professional assistance may be safer.
Tools and Materials You Need
Having everything ready before you begin makes the job easier and reduces interruptions.
Essential Tools
You may need an adjustable wrench, screwdriver, pliers, utility knife, bucket, and towels.
A flashlight can also help you see connections inside a dark cabinet.
Materials
Prepare the new sink, drain assembly, supply lines, sink clips, and compatible fittings.
You may also need plumber’s putty or an approved silicone sealant, depending on the sink and drain manufacturer’s instructions.
Avoid forcing fittings that do not match. Plumbing connections should fit correctly without excessive pressure.
How to Prepare Before Removing the Old Sink
Good preparation can prevent many common installation problems.
Turn Off the Water Supply
Find the hot and cold water shutoff valves beneath the sink. Turn both valves clockwise until the water stops.
Open the faucet afterward. This releases pressure remaining in the lines.
If the valves are hard to turn or keep leaking, they may need attention before you proceed.
Clear the Work Area
Remove cleaning products, dishes, and other items from the cabinet.
Place a bucket underneath the plumbing, as some water will remain in the pipes.
Keep towels nearby to absorb spills and protect the cabinet floor.
Check the New Sink
Before removing anything, compare the new sink with the existing opening.
Measure the sink carefully and confirm its dimensions, drain position, faucet holes, and mounting system match your countertop.
This simple check can save you from removing the old sink only to discover the replacement doesn’t fit.
How to Remove the Old Kitchen Sink
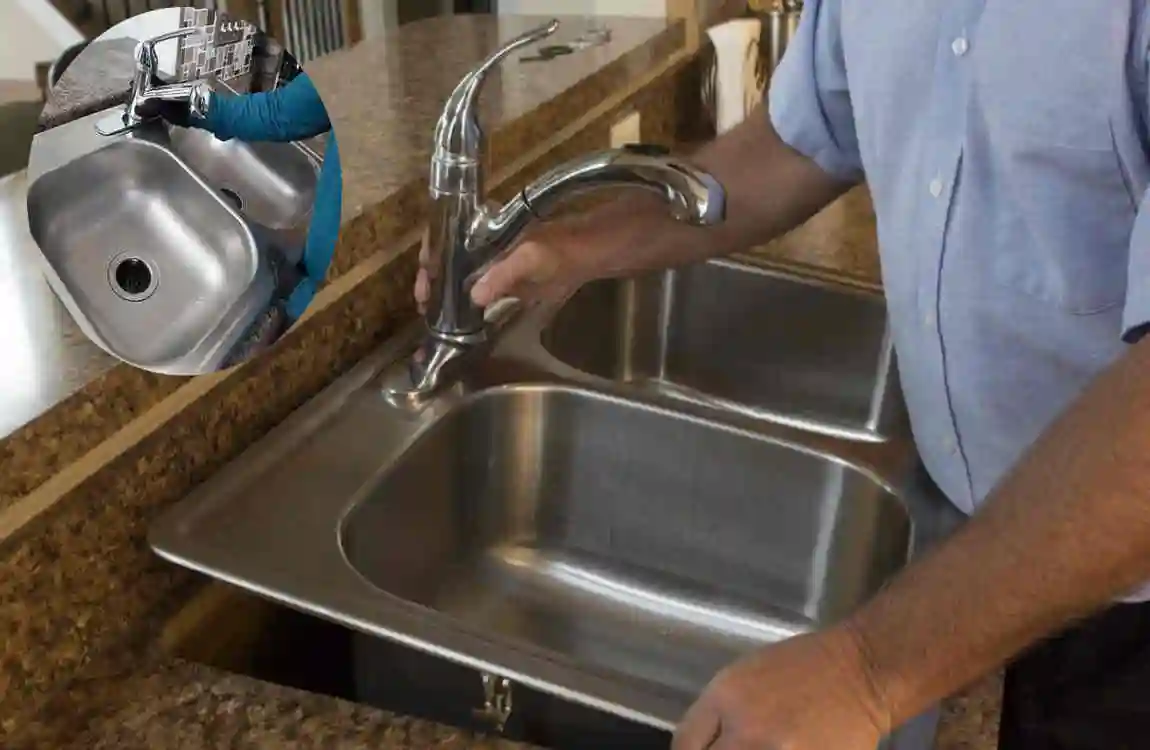
Once the water is off and the work area is protected, you can begin removing the existing sink.
Disconnect the Plumbing
Use an adjustable wrench to disconnect the hot and cold water supply lines.
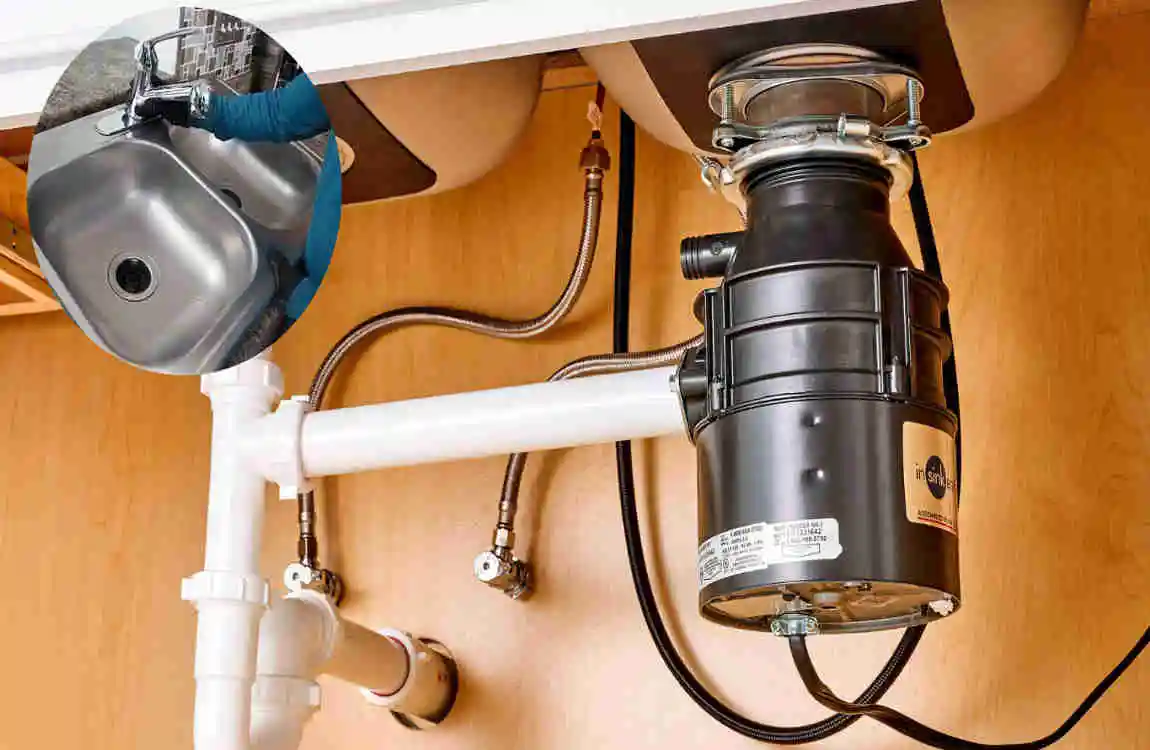
Next, disconnect the drainpipe beneath the sink. If your kitchen has a garbage disposal, disconnect it per the manufacturer’s instructions.
Keep the bucket underneath the connections to catch remaining water.
Remove Sink Clips and Sealant
Many sinks are held in place with mounting clips underneath the countertop.
Loosen these clips carefully.
Then use a utility knife to cut through the old caulk or sealant around the sink edge. Work slowly to avoid damaging the countertop.
Lift Out the Old Sink
Once you remove the clips and sealant, gently loosen the sink.
Some old sinks may be stuck because of hardened sealant. Do not use excessive force.
After removing the sink, scrape away remaining sealant and clean the countertop opening thoroughly. The surface should be smooth, dry, and free of debris before installing the new sink.
How to Remove Old Kitchen Sink and Install Machine Sink
This is the main part of the project. Take your time and check each connection before moving forward.
Position the New Machine Sink
Place the new sink into the countertop opening for a test fit.
Check that it sits evenly and that the edges align properly with the countertop.
The sink should not rock or leave large gaps around the opening.
If it does not fit correctly, stop and determine why before applying sealant.
Install the Faucet and Drain
Depending on the sink design, it’s often easier to install the faucet before placing the sink into the countertop.
Install the drain assembly according to the manufacturer’s instructions.
Apply plumber’s putty or the recommended sealant where required. Do not use more sealant than necessary because excess material can make cleanup difficult.
Secure the Sink
Use the supplied mounting clips or the manufacturer’s recommended installation system.
Tighten the clips gradually and evenly.
Avoid overtightening because excessive pressure can damage the sink, countertop, or mounting hardware.
Reconnect the Plumbing
Reconnect the hot and cold water supply lines.
Attach the drainpipe and reconnect any other plumbing components removed during the process.
Make sure the pipes are properly aligned. A connection that is forced into an awkward position may leak later.
Testing, Troubleshooting, and Maintenance
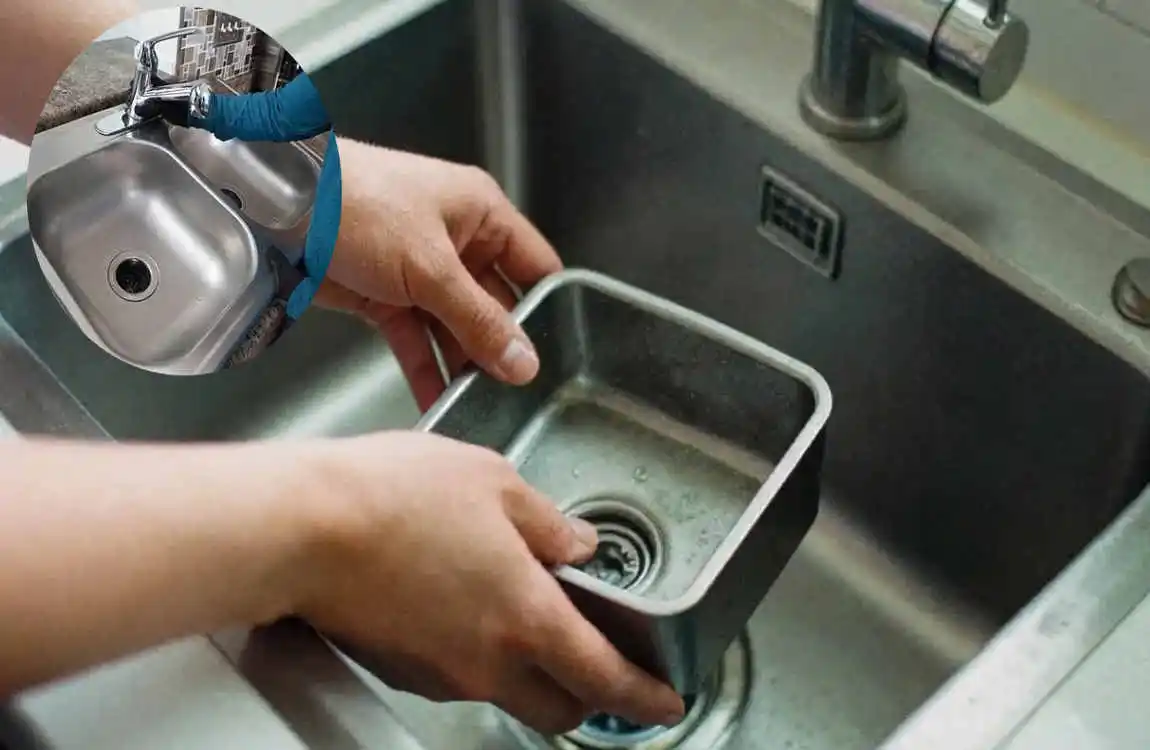
The installation is not complete until you have tested everything.
Test for Leaks
Slowly turn the water supply back on.
Open the faucet and let water run for a few minutes.
Look underneath the sink while the water is running. Check the supply connections, drain assembly, and pipe joints.
Dry connections with a towel and check them again. Even a small amount of fresh moisture can indicate a loose connection.
Common Installation Problems
Leaking drain: The drain connection may not be sealed or tightened properly.
Loose faucet: The faucet mounting hardware may need adjustment.
Uneven sink: The sink may not be positioned or secured correctly.
Slow drainage: Check for a blocked drain or incorrectly aligned pipe.
Excess sealant: Carefully remove any excess sealant after installing it, following the product instructions.
If a leak continues after reasonable adjustments, stop using the sink until the problem is corrected.
Simple Maintenance Tips
A few simple habits can help your new sink stay in good condition.
- Clean the sink regularly with a suitable cleaner.
- Avoid abrasive products when they are not recommended for the sink material.
- Do not pour unsuitable chemicals down the drain.
- Check visible plumbing connections occasionally.
- Wipe standing water from the sink and surrounding countertop.
Regular care can help prevent stains, odours, corrosion, and plumbing problems.
FAQ
Q. How long does it take to replace an old kitchen sink?
A basic replacement can often take a few hours, depending on the sink design, plumbing condition, countertop opening, and the installer’s experience.
Q. Can I remove an old kitchen sink myself?
Yes, many homeowners can remove a standard sink with basic tools. However, complicated plumbing, damaged countertops, or difficult connections may require professional help.
Q. What tools are needed to install a machine sink?
Common tools include an adjustable wrench, screwdriver, pliers, utility knife, bucket, towels, and suitable sealant or plumber’s putty.
Q. Do I need plumber’s putty when installing a kitchen sink?
It depends on the sink and drain design. Some installations use plumber’s putty, while others require a specific sealant. Follow the instructions supplied with the sink and drain assembly.
Q. How do I know if the new sink will fit my countertop?
Measure the existing countertop opening and compare those measurements with the new sink’s installation requirements. Also check the depth, faucet holes, and drain position.
Q. Why is my new kitchen sink leaking after installation?
A leak may come from a loose supply connection, drain fitting, gasket, or improper sealing. Turn off the water if necessary and inspect each connection carefully.
Q. When should I hire a professional plumber?
Consider professional help when you need major plumbing changes, countertop modifications, garbage-disposal work, or when a leak cannot be fixed with normal adjustments.
| Step | What to Do | Key Tip |
|---|---|---|
| Turn Off Water | Shut off the hot and cold water supply. | Open the faucet to release pressure. |
| Remove Old Sink | Disconnect the plumbing and remove the old sink carefully. | Keep a bucket nearby for leftover water. |
| Clean the Countertop | Remove old sealant and clean the sink opening. | Make sure the surface is dry and smooth. |
| Check New Sink | Measure the new machine sink and compare it with the opening. | Confirm the size before cutting anything. |
| Install Faucet | Attach the faucet and other fittings before placing the sink. | Follow the manufacturer’s instructions. |
| Apply Sealant | Add a suitable waterproof sealant around the sink edge. | Use an even, continuous bead. |